
When you want to copy a packet of papers and staple them automatically using the copier, follow these steps:
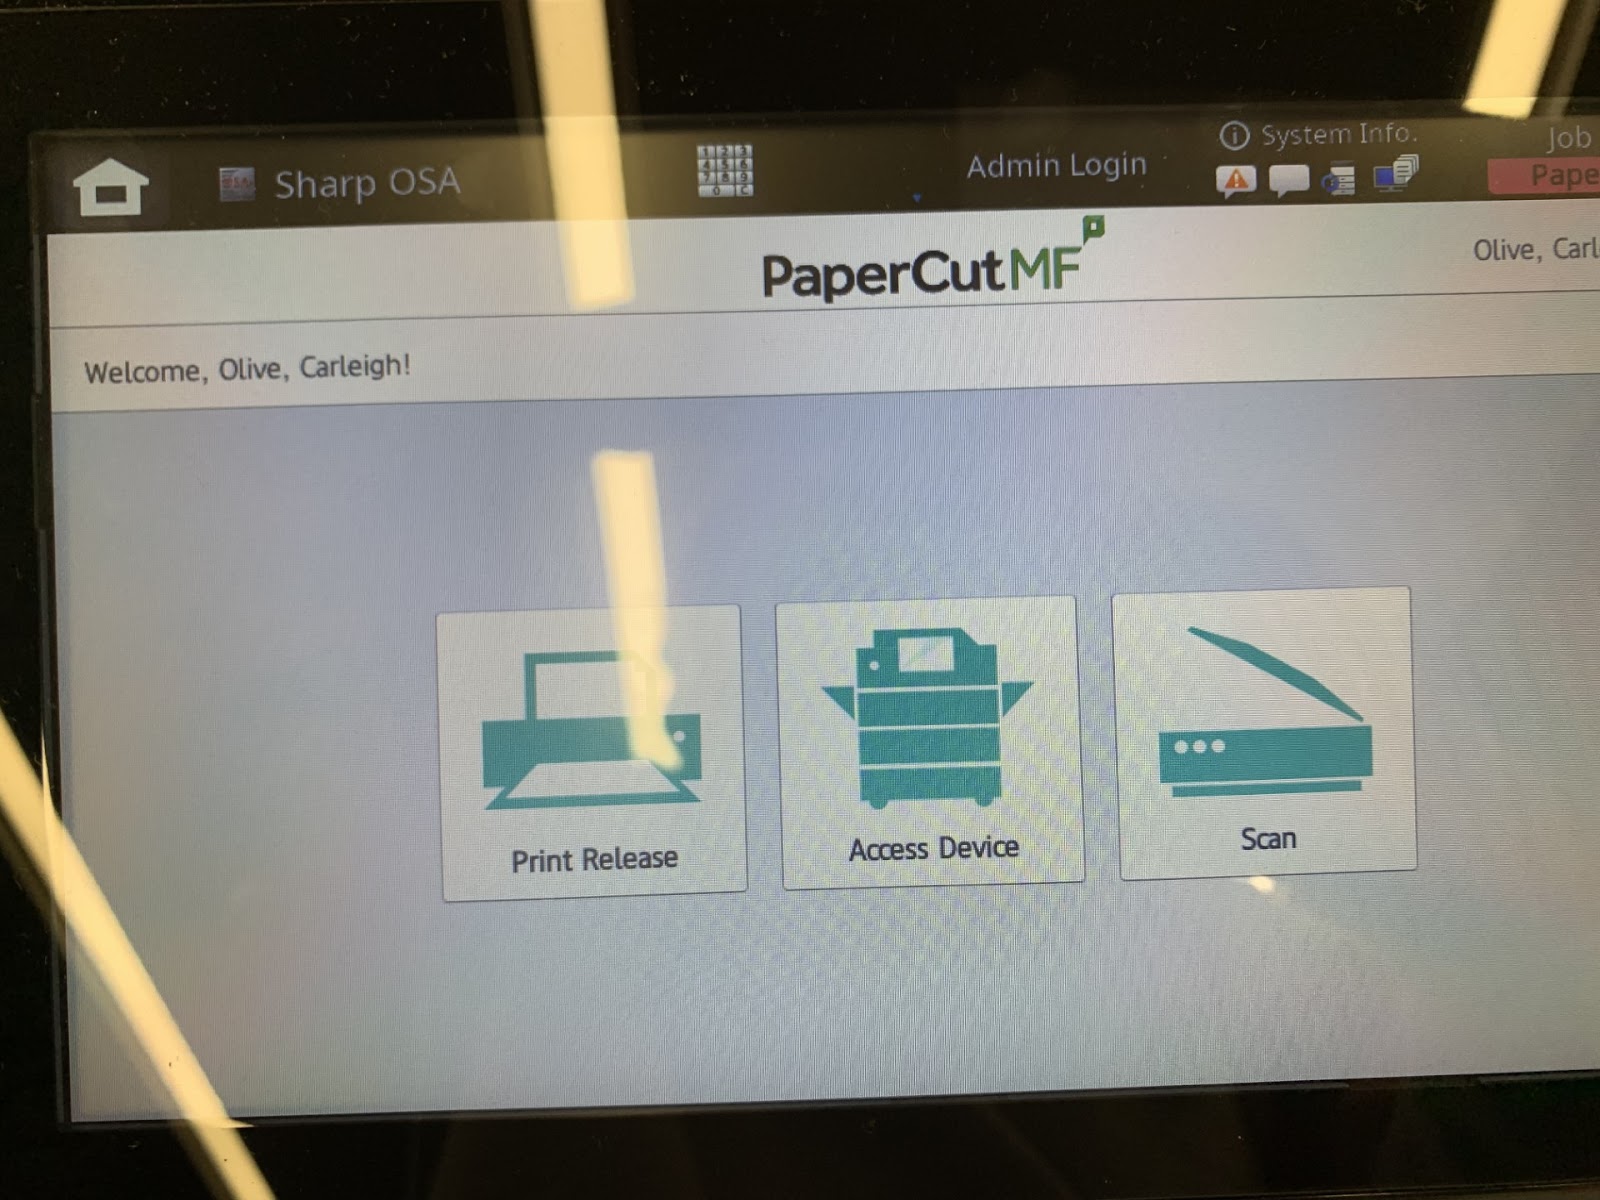
1. Log in to the copier at Irwin Library using your Butler credentials
2. Select access device, then select personal account.
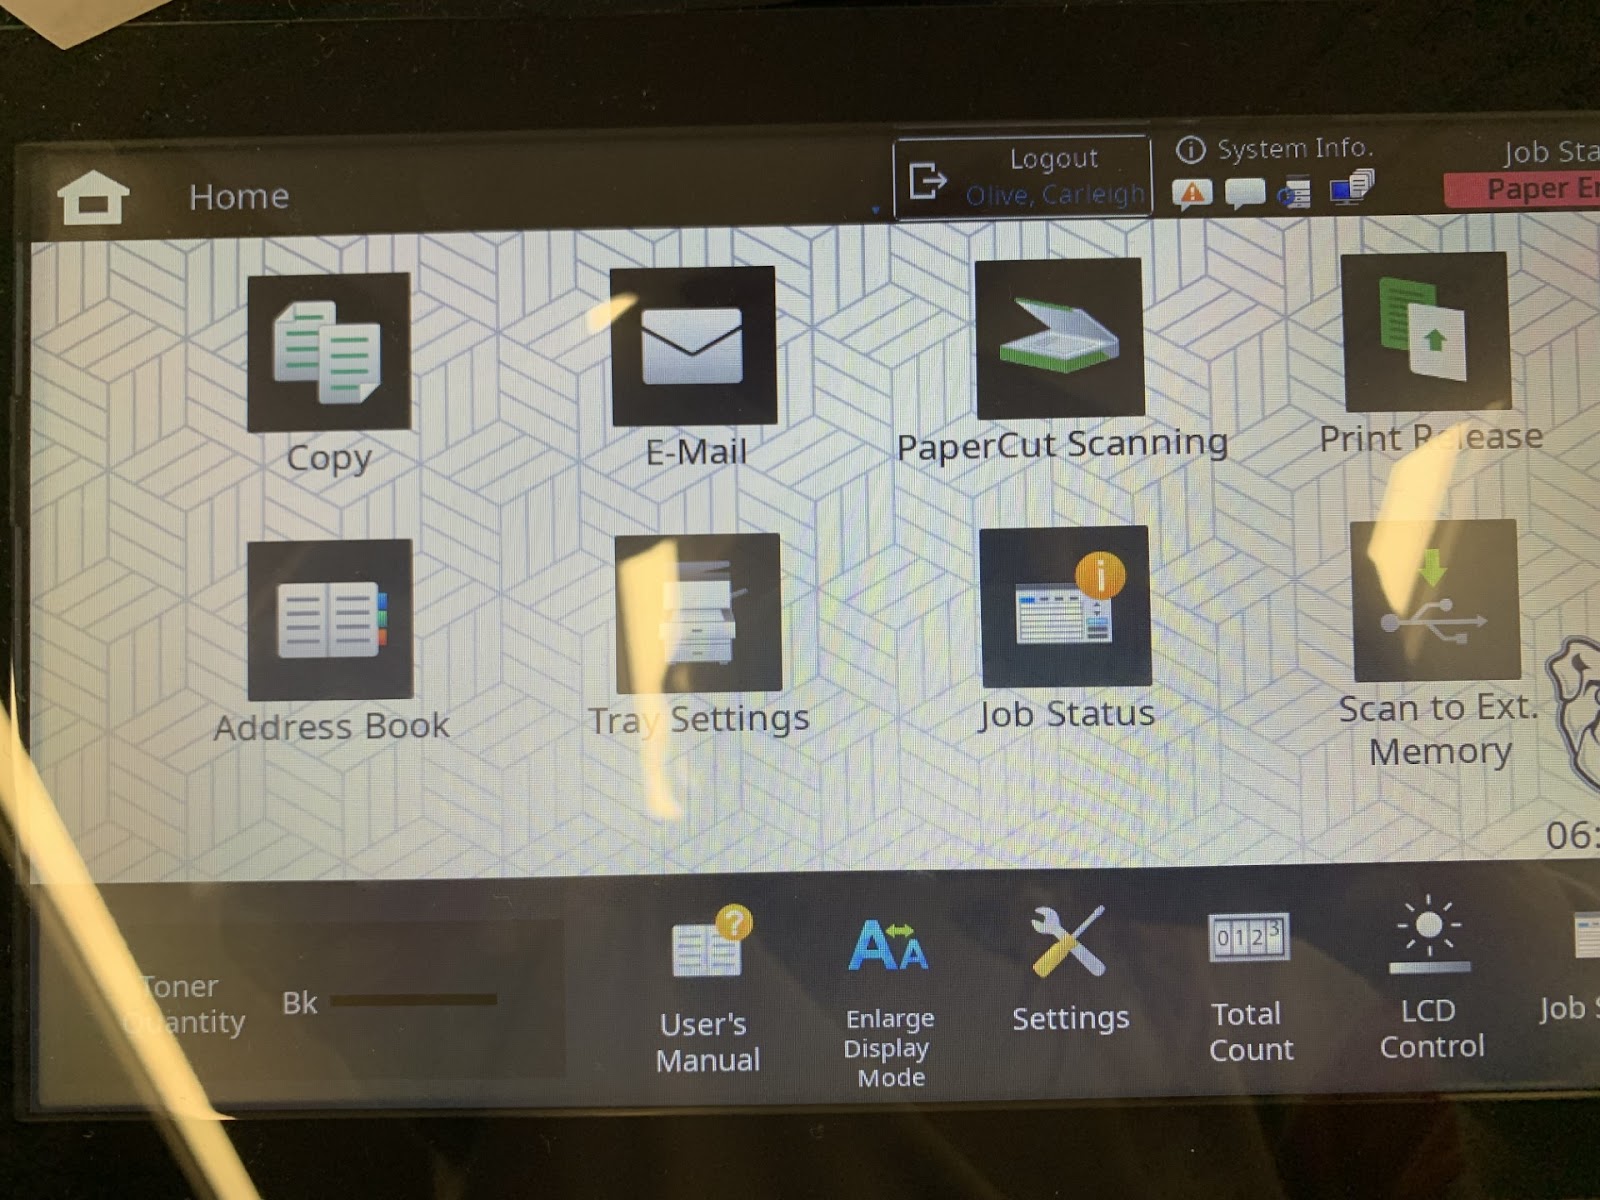
3. Select copy and lift the top to put the document you want copied face down on the glass.
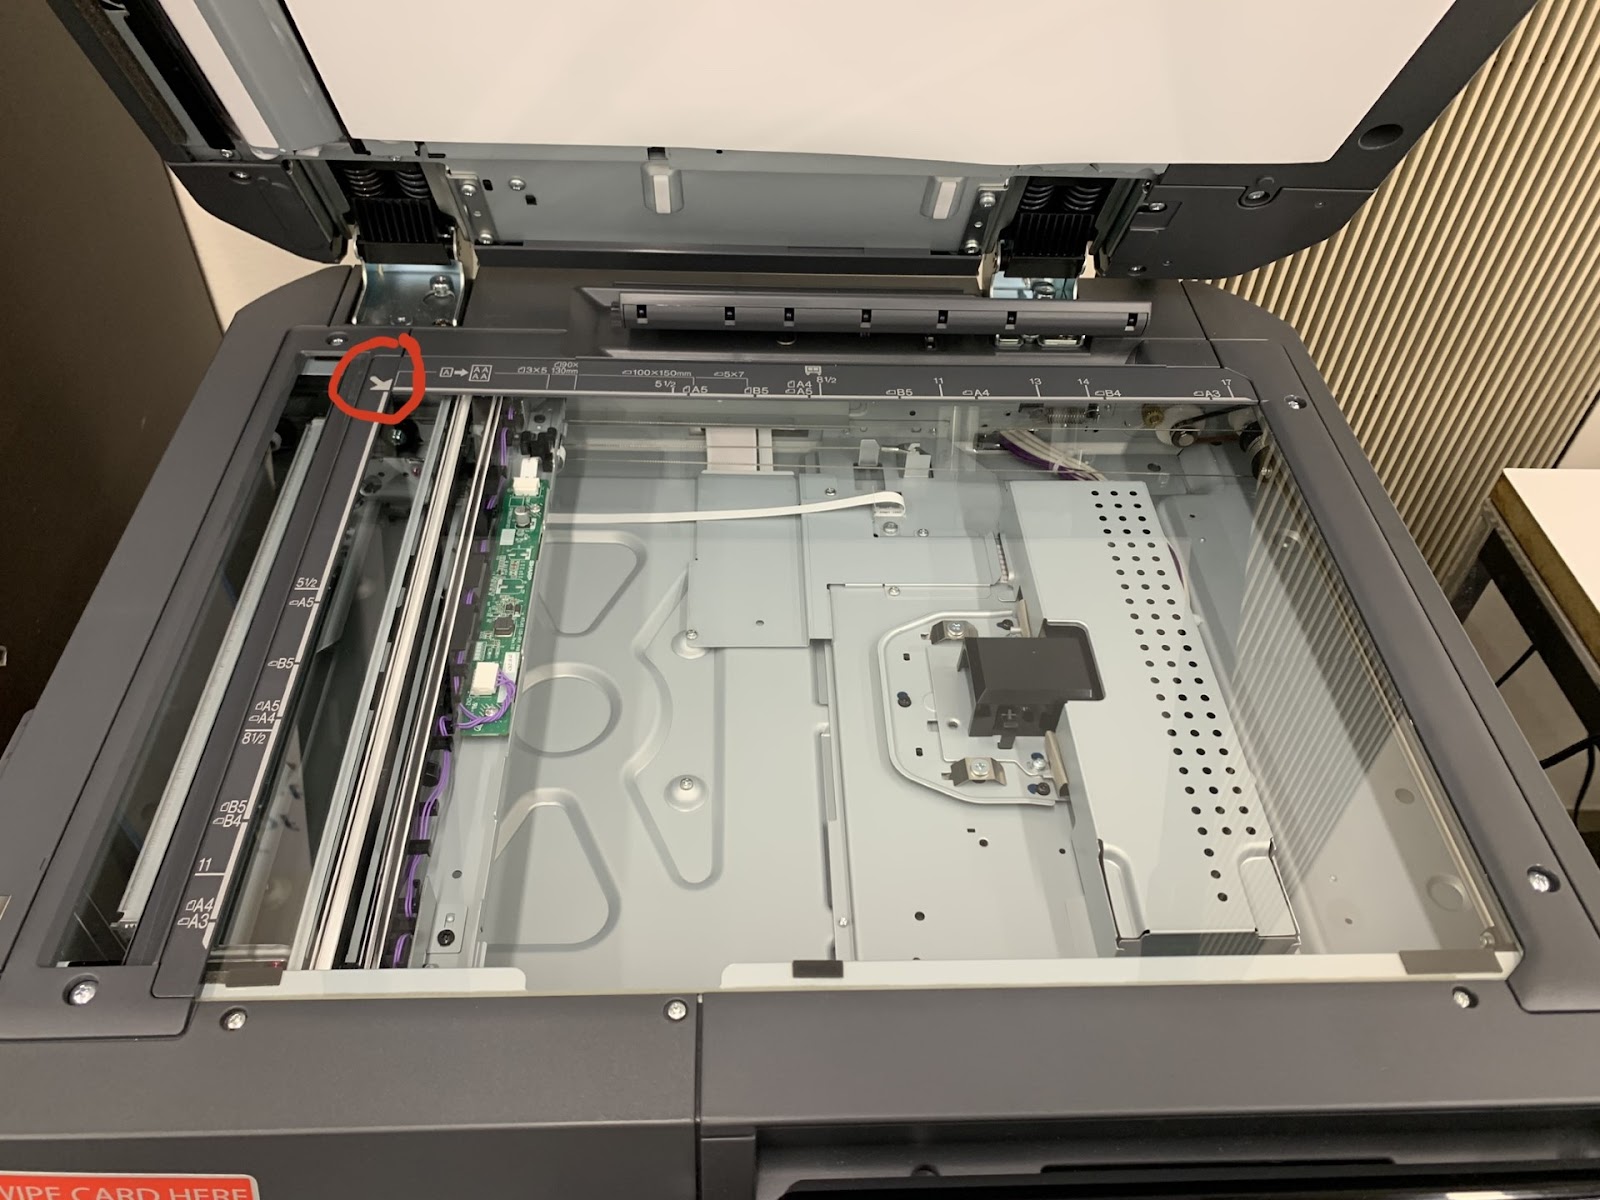
4. Lift up the top of the scanner
5. Make sure to align it with the arrow in the upper left corner.
6. Select staple sort (on the left column) and how many staples you want and where you want them.

7. Select OK
8. Press start, then once you get the screen that asks for the next paper, lift up the top and place the second document on the glass face down. Repeat this process until you have scanned all the documents you need, then press read end.
![The screen on the copier with a message that reads, "Place next original. Press [Start]. When finished, press [Read End]." In the bottom right of the message there is a blue button that says, "Read-End."](https://lh3.googleusercontent.com/7KZYqFdRwoqANvDfefEIqIFQOx9XelSDjSpeyjp23UyLixLj2kvWomp2Oe-2fR0cH2mfqcUejyZqHhv_Zd0b-WIVRN_wCuArfSvz8mgBbx1ZMumQshjsy7zFJSPZOgGZlBVL7LBppE4Ou_4dL3SG2zw)
Optional Step: Staple documents individually
- If you want to manually staple the copies make sure that staple sort is not selected.
- Gather the papers and place them into the staple slot below the staple button.
- You can either press the button or hold the papers in the slot for a few seconds to have them stapled.

For more information on copying, view copying directions